Worn-out screws are one of the most frustrating problems during repair, maintenance, or DIY projects. Whether you are repairing furniture, fixing automotive parts, working on machinery, or handling home maintenance, a stripped or worn-out screw can quickly turn a simple task into a difficult one. A screw becomes worn out when its head loses grip, making it difficult for a screwdriver or drill bit to rotate it properly.
Fortunately, removing a damaged screw is usually possible without damaging the surrounding material. By using the right tools and techniques, you can safely remove even stubborn screws from wood, metal, plastic, or machinery components. In this guide, we will explain the best methods to remove worn-out screws, the tools required, common mistakes to avoid, and practical tips to prevent screws from getting damaged in the future.
What Is a Worn-Out Screw?
A worn-out screw, also called a stripped screw, is a screw whose head grooves have become damaged or rounded. Because of this damage, the screwdriver bit slips instead of gripping the screw properly.
This problem commonly occurs due to:
- Using the wrong screwdriver size
- Applying excessive force
- Rust or corrosion
- Over-tightening
- Frequent removal and installation
- Low-quality screw material
When the screw head becomes damaged, conventional screwdrivers often stop working, making removal difficult.
Signs That a Screw Is Worn Out
Before choosing a removal method, identify whether the screw is worn or stuck due to another issue.
Common signs include:
- Screwdriver Slips Repeatedly: The screwdriver cannot grip the grooves and slips during rotation.
- Rounded Screw Head: The slots or cross pattern appear flattened or damaged.
- Rust Around the Screw: Corrosion can weaken the grip and make removal difficult.
- Screw Does Not Rotate Properly: The screw may partially turn but refuses to loosen.
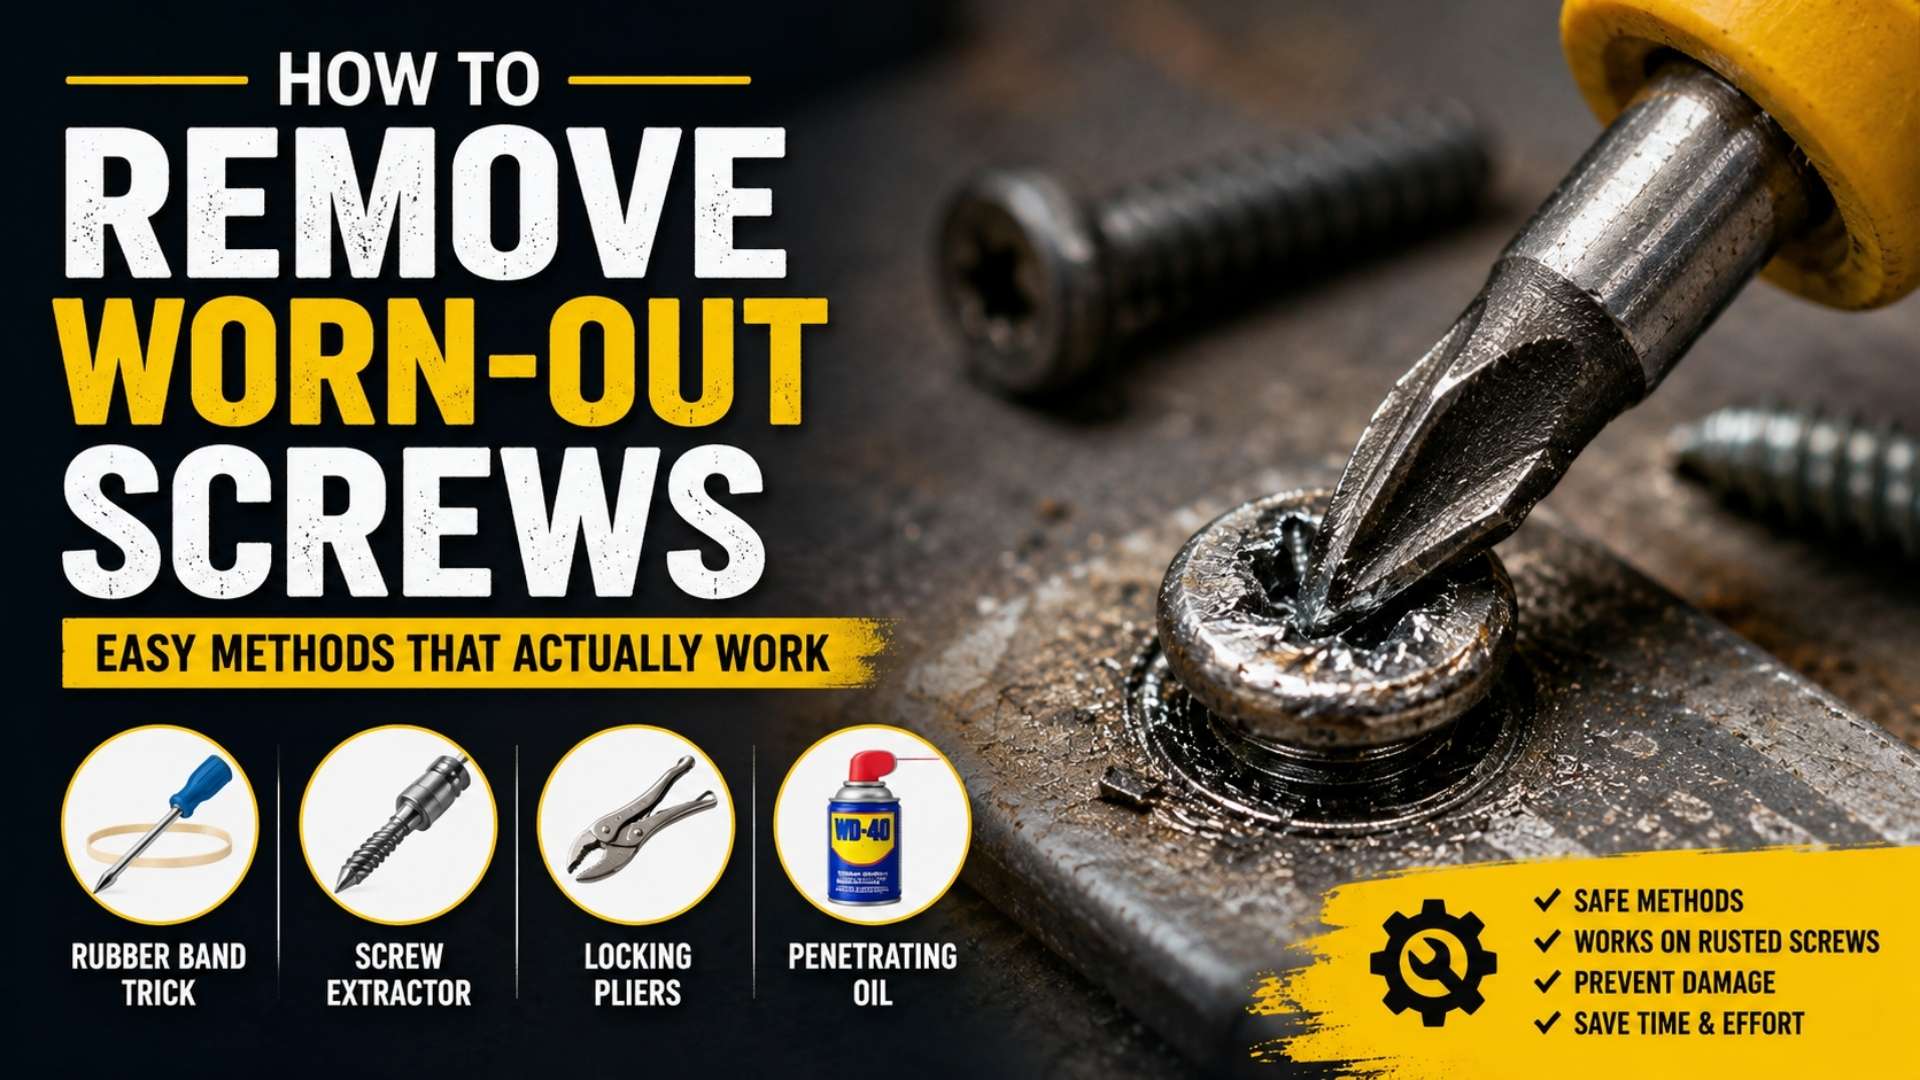
Tools Required to Remove Worn-Out Screws
Depending on the severity of damage, you may need the following tools:
- Screwdriver set
- Rubber band
- Locking pliers (vise grips)
- Penetrating oil
- Hammer
- Screw extractor kit
- Drill machine
- Rotary cutting tool or hacksaw
- Safety gloves
- Protective glasses
Using proper tools reduces the chance of damaging the material surrounding the screw.
Best Methods to Remove Worn-Out Screws
Below are the most effective techniques used by mechanics, maintenance professionals, and DIY enthusiasts.
1. Use a Rubber Band for Better Grip
The rubber band method works well for mildly stripped screws.
Steps:
- Place a thick rubber band over the screw head.
- Insert the screwdriver into the screw.
- Apply firm downward pressure.
- Slowly turn the screwdriver counterclockwise.
The rubber band fills the damaged grooves and improves grip between the screwdriver and screw.
Best For:
- Slightly damaged screws
- Furniture screws
- Light household repairs
2. Try a Different Screwdriver Size
Sometimes the wrong screwdriver is the actual problem.
A larger or slightly different screwdriver bit may fit tightly into the damaged head and provide enough grip to loosen the screw.
For example:
- A flathead screwdriver may work on a damaged Phillips screw.
- A slightly larger bit can sometimes restore grip.
Tip:
Always apply firm pressure while turning to avoid further damage.
3. Tap the Screwdriver with a Hammer
For stubborn screws, hammering helps seat the screwdriver deeper into the worn grooves.
Steps:
- Insert the screwdriver into the damaged head.
- Gently tap the screwdriver handle using a hammer.
- Rotate slowly while maintaining pressure.
This method is especially useful when screws are tight or partially rusted.
Best For:
- Metal screws
- Machine screws
- Slightly corroded screws
4. Apply Penetrating Oil
Rust and corrosion can lock screws tightly into place.
Penetrating oil helps loosen rust and reduce friction.
Steps:
- Spray penetrating oil around the screw.
- Let it sit for 10–20 minutes.
- Attempt removal again.
For heavily rusted screws, allowing the oil to soak overnight may improve results.
Common Oils Used:
- WD-40
- PB Blaster
- Liquid Wrench
5. Use Locking Pliers
If the screw head is exposed above the surface, locking pliers can be highly effective.
Steps:
- Clamp locking pliers tightly around the screw head.
- Rotate slowly counterclockwise.
- Avoid sudden force to prevent breaking the screw.
Best For:
- Screws with exposed heads
- Automotive repair
- Machinery maintenance
Also Read:
- Different Types of Screws in Fastening Process
- Different Types of Screws Heads – That You Must Know
- Difference Between Bolt and Screw
6. Cut a New Slot in the Screw Head
If the screw head is severely damaged, creating a new slot can help.
Steps:
- Use a rotary cutting tool or hacksaw.
- Cut a straight groove across the screw head.
- Use a flathead screwdriver to remove it.
Best For:
- Deeply stripped screws
- Metal fasteners
- Workshop applications
7. Use a Screw Extractor Kit
A screw extractor is one of the most reliable tools for badly damaged screws.
Steps:
- Drill a small pilot hole in the center of the screw.
- Insert the screw extractor.
- Rotate counterclockwise.
The extractor grips the screw internally and helps pull it out.
Advantages:
- Highly effective
- Works on severely damaged screws
- Reduces material damage
Best For:
- Broken screws
- Industrial repair
- Automotive maintenance
8. Drill the Screw Out (Last Resort)
When all other methods fail, drilling out the screw may be necessary.
Steps:
- Select a drill bit slightly smaller than the screw diameter.
- Drill carefully through the center.
- Remove remaining fragments.
- Replace the screw.
Warning:
Use caution to avoid damaging nearby surfaces.
Common Mistakes to Avoid
When removing worn-out screws, avoid these common errors:
- Using Excessive Force: Too much pressure can damage the screw further.
- Choosing the Wrong Screwdriver: Incorrect sizes worsen stripping.
- Skipping Lubrication: Ignoring rust treatment often makes removal harder.
- Drilling Too Quickly: Aggressive drilling may damage surrounding material.
- Using Cheap Tools: Poor-quality tools often slip and worsen screw damage.
How to Prevent Screws from Wearing Out
Prevention is always easier than repair.
Follow these tips:
- Always use the correct screwdriver size.
- Avoid over-tightening screws.
- Lubricate screws in humid environments.
- Use corrosion-resistant screws.
- Replace damaged screws immediately.
- Apply steady pressure during installation.
Proper screw handling significantly increases fastener life.
When Should You Replace a Screw?
You should replace a screw if:
- The head is badly stripped
- Rust has weakened the metal
- Threads are damaged
- The screw no longer tightens securely
Replacing damaged screws prevents future maintenance problems.
Conclusion
Removing worn-out screws may seem frustrating, but the right approach can save time and prevent damage. From simple techniques like using a rubber band or changing screwdriver sizes to advanced solutions such as screw extractors and drilling, there are several effective ways to remove damaged screws safely. Understanding the cause of screw wear and choosing the proper removal method helps make repairs easier and more efficient. By also following preventive practices such as using the right tools and avoiding over-tightening, you can reduce the chances of stripped screws in future projects and maintenance work.