Checking your engine oil regularly is one of the simplest yet most important maintenance tasks for keeping your vehicle healthy. Whether you drive a car, ride a motorcycle, or operate other machinery, proper oil levels ensure smooth operation, prevent overheating, and extend engine life.
In this guide, you’ll learn how to check engine oil in a car, motorcycle, and other vehicles, the tools you’ll need, and common mistakes to avoid.
Why Checking Engine Oil Matters
Engine oil lubricates moving parts, reduces friction, and helps keep the engine cool. Low or dirty oil can lead to:
- Increased engine wear
- Overheating
- Reduced fuel efficiency
- Costly engine damage
Recommendation: Check your engine oil every 1,000–2,000 km or before any long trip.
Understanding Engine Oil Levels
- Oil Level: Indicates if your engine has enough oil to operate safely.
- Oil Condition: Clean oil is amber or golden brown; dirty oil appears dark and gritty.
- Best Time to Check: On a level surface, when the engine is cool (or after 5–10 minutes of shutting it down).
How to Check Engine Oil in a Car
Tools You’ll Need
- Clean rag or paper towel
- Owner’s manual (for dipstick location)
Step-by-Step Process
- Park on a Level Surface – Ensure accurate readings.
- Turn Off the Engine – Wait a few minutes to let oil settle.
- Locate the Dipstick – Usually marked with a yellow/orange handle.
- Remove and Clean – Pull out the dipstick and wipe with a rag.
- Reinsert Fully – Push it all the way in.
- Check Oil Level – Pull out again and see if oil lies between Min and Max marks.
- Check Oil Color & Texture – Light amber is healthy; dark or gritty oil needs changing.
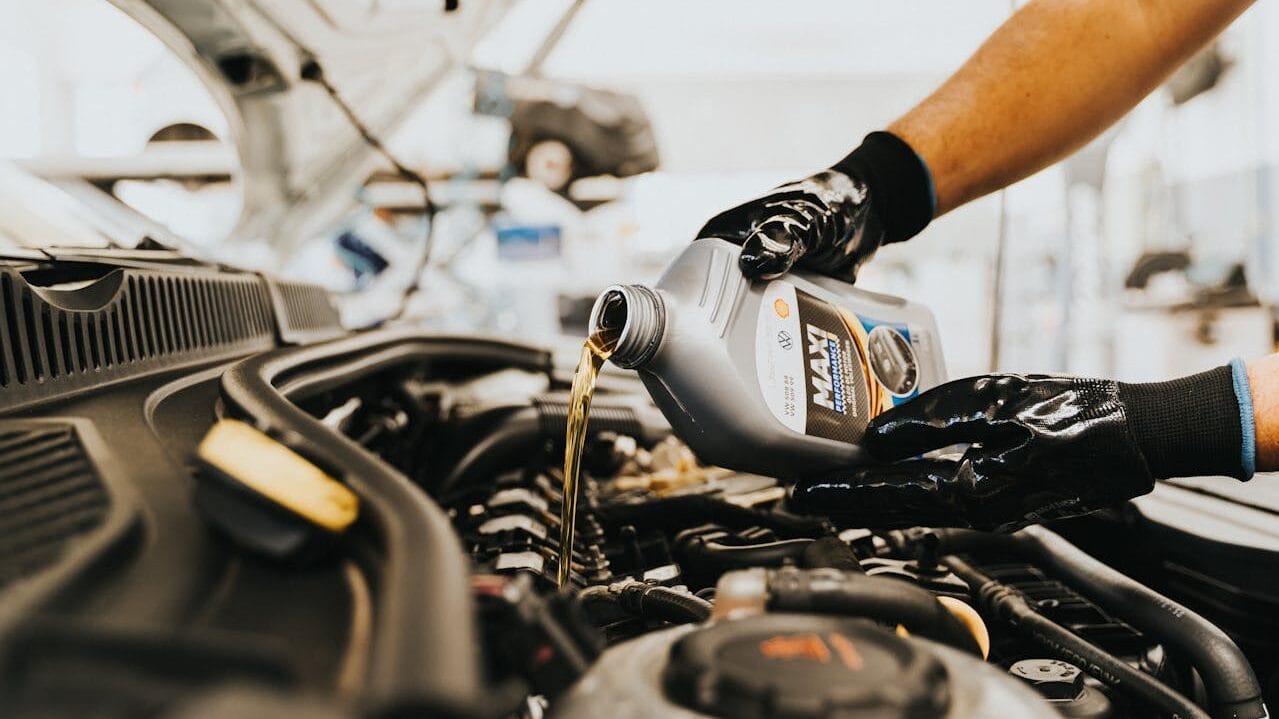
- Add Oil if Needed – Use manufacturer-recommended oil type.
Pro Tip: Never overfill; too much oil can damage engine seals.
Also Read:
- What is Check Engine Light Symbol and Meaning?
- Bike Tire Pressure : Ultimate Guide to the Right PSI for Bike Tires
- Parts of a Car: Everything You Need to Know
How to Check Motorcycle Engine Oil
Tools You’ll Need
- Clean cloth
- Center stand (for balance)
Step-by-Step Process
- Warm Up the Engine – Run for 1–2 minutes, then turn it off.
- Upright Position – Use the center stand for an accurate reading.
- Locate Dipstick or Sight Glass – Consult your manual.
- For Dipstick Models – Remove, wipe, reinsert, and check oil level.
- For Sight Glass Models – Look for oil level between Low and High marks.
- Check Color & Consistency – Replace oil if it’s too dark or sludgy.
Pro Tip: Do not tilt the bike while checking — it will give a false reading.
Checking Engine Oil in Other Vehicles
Trucks & SUVs
- Same process as cars, but dipstick may be located deeper.
Scooters
- Place scooter on the center stand.
- Most have dipsticks attached to the oil filler cap.
Lawn Mowers & Small Engines
- Check dipstick under oil fill cap.
- For older models, check level visually.
Signs Your Engine Oil Needs Attention
- Oil level is below minimum mark
- Oil looks dark, gritty, or milky
- Dashboard oil warning light comes on
- Unusual engine noise or overheating
Common Mistakes to Avoid
- Checking oil on a sloped surface
- Checking right after driving hard (oil still circulating)
- Overfilling with oil
- Using the wrong oil grade
Conclusion
Whether it’s a car, motorcycle, scooter, or truck, knowing how to check engine oil is essential for your vehicle’s health. Regular checks can prevent breakdowns and save you from costly repairs.
Takeaway: Make it a habit — quick checks today can prevent big problems tomorrow.
FAQs: Frequently Asked Questions
At least once a month, or before a long trip.
You shouldn’t. Low oil can cause severe engine damage.
Overfilling can cause foaming, leaks, and internal damage.
Yes, the method is the same — only oil properties differ.