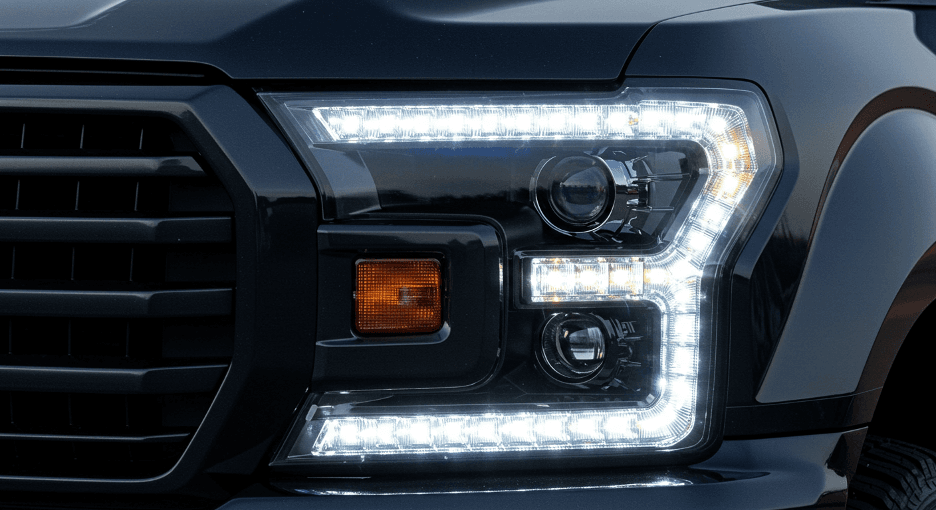
Upgrading your F150 headlights to LED is one of the best ways to enhance your truck’s appearance and visibility, especially if you’re driving at night or through harsh weather conditions. LED headlights provide better illumination, longer life spans, and improved energy efficiency compared to traditional halogen bulbs.
But, the process of installing them can be intimidating if you’ve never done it before. This step-by-step guide will walk you through the entire process of installing F150 headlights with easy-to-follow instructions, ensuring you achieve a smooth and successful upgrade. Whether you’re an experienced DIYer or a first-timer, we’ve got you covered.
Why Choose LED F150 Headlights?
Before diving into the installation process, it’s essential to understand why LED headlights are a game-changer for F150 headlights upgrades. LED lights offer many advantages. They emit a brighter, more focused beam, which illuminates more of the road, an essential feature for night driving.
Additionally, LED headlights last much longer than halogen bulbs, reducing the need for frequent replacements. They also consume less power, which can improve your vehicle’s fuel efficiency. Besides the practical benefits, LEDs also offer a sleek, modern aesthetic, giving your truck a fresh, high-tech look.
Tools You’ll Need for Installing LED F150 Headlights
Before you get started, gather all the necessary tools and materials. Having everything prepared beforehand will make the process smoother. You’ll need a new LED F150 headlights kit, a socket wrench with an extension, a Phillips-head screwdriver, a flathead screwdriver, gloves (optional), safety glasses, and electrical tape or connectors.
Step 1: Prepare Your Truck
The first step in the installation process is preparing your truck for the headlight upgrade. Begin by turning off the engine and ensuring the keys are removed from the ignition. Then, disconnect the negative terminal of your truck’s battery to avoid any electrical mishaps.
This step is essential for safety, as working with electrical components could lead to short circuits if you’re not careful. After that, open the hood and secure it with the prop rod to make sure everything is steady while you work. Proper preparation is key to minimizing risks and mistakes while installing your F150 headlights.
Step 2: Remove the Old Headlights
With your truck prepped, it’s time to remove the old headlights. Start by locating the mounting screws that secure the F150 headlights in place. These screws are typically found on the top and sometimes on the sides of the headlight assembly. Use your Phillips-head screwdriver to remove the screws, and then gently pull the headlight assembly out of its housing. Be cautious not to pull too hard, as there may still be wires connected to the back of the headlights.
Once the assembly is loose, locate the wiring harness connected to the back of the headlight. Disconnect the wiring harness by pressing the clip and pulling it away. Set the old headlights aside, as you won’t need them anymore.
Step 3: Install the New LED F150 Headlights
The installation of the new LED headlights is the heart of the process. Start by attaching the LED light to the housing. Some LED headlights come with a base that may need to be screwed in first. Make sure the LED bulb fits snugly into the housing. Once it’s in place, take the wiring harness from your new LED F150 headlights and plug it into the truck’s wiring. If the fit is slightly different from your old setup, you may need to use electrical connectors or tape to secure the wiring properly.
Next, position the new LED headlights back into the housing, aligning the holes on the headlight assembly with the mounting screws. Tighten the screws securely with your screwdriver to ensure the new headlights are firmly in place.
Step 4: Adjust the Alignment of the New F150 Headlights
Once the new LED headlights are installed and functioning, you’ll need to adjust the beam alignment for optimal visibility. To do this, park your F150 headlights on a flat, level surface facing a wall or garage door. This will help you ensure the headlights are aimed correctly.
Look for the adjustment screws on your new LED headlights. These are typically located on the side or back of the headlight housing. Turn the screws until the light beam is positioned correctly on the wall, with the top of the beam just below the horizon. You want the headlights to shine in a way that maximizes road visibility without blinding other drivers.
Step 5: Reassemble and Final Checks
Now that your LED F150 headlights are properly aligned, you can finish the installation. First, tighten any remaining screws, ensuring that the headlight assembly is secure. Afterward, reconnect the negative terminal of your truck’s battery. Finally, do one last check to make sure all the lights are functioning correctly, including the low and high beams, turn signals, and other necessary lighting.
Once you’ve completed these final checks, you can close the hood of your truck, and you’re good to go! The entire process should take only a couple of hours, and now you can enjoy the enhanced visibility and sleek look of your new LED F150 headlights.
Conclusion
Congratulations! You’ve successfully installed your new LED F150 headlights and are now ready to experience the benefits of improved lighting, better road safety, and a modern look for your truck. The process is simple and rewarding, offering significant improvements in both function and aesthetics.


