
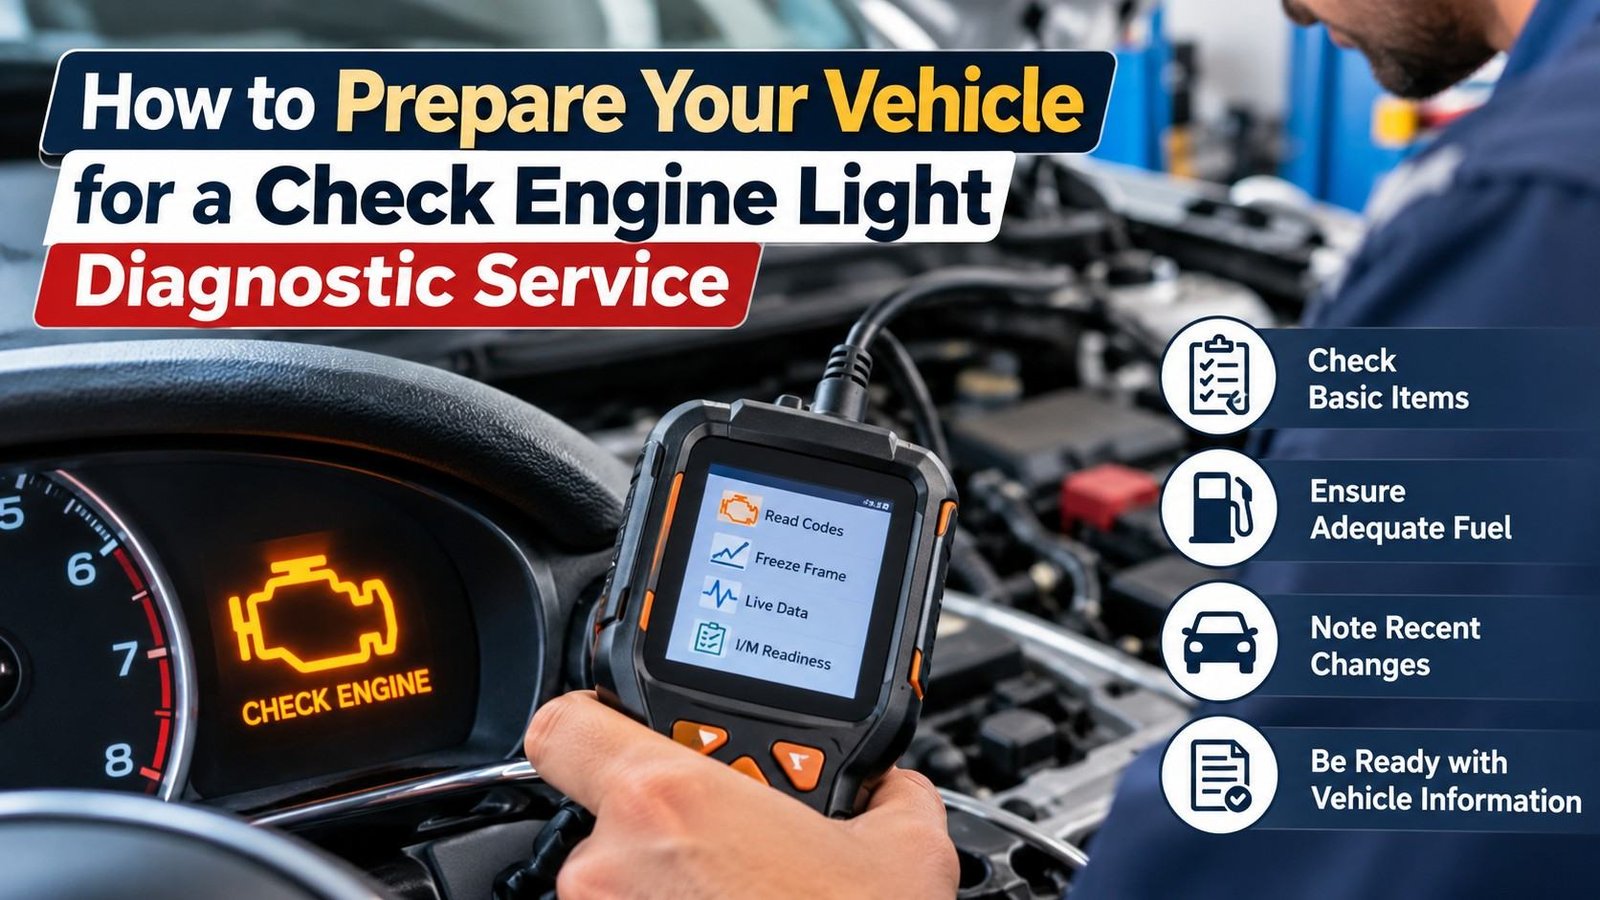
Preparing your vehicle for a check engine light diagnostic service involves noting when the warning appeared, paying attention to changes in performance, gathering maintenance records, and sharing relevant details with your mechanic. These small steps can help the technician identify the cause more efficiently and avoid unnecessary repairs. Although the warning light may point to something minor, it can also indicate a problem that needs immediate attention.
Dallas, Texas, is known for its busy highways, heavy commuter traffic, and long stretches of hot weather. These driving conditions can put extra demands on a vehicle’s engine and emissions system, making it important to address warning lights rather than ignore them.
By scheduling check engine light diagnostics in Dallas, drivers can rely on help to identify potential problems before they develop into more expensive repairs.
1. Pay Attention to How the Warning Light Behaves
Before visiting the repair shop, check whether the engine light stays on continuously or flashes while driving. This distinction matters because it can help the technician assess the urgency of the problem.
A steady check engine light generally indicates a fault that needs to be diagnosed soon. A flashing light can signal a serious issue, such as an engine misfire that may damage the catalytic converter.
If the light flashes, especially when the engine shakes, loses power, or runs roughly, reduce driving and pull over somewhere safe. Arrange professional assistance rather than continuing to drive and risking further damage.
2. Record Any Changes in Vehicle Performance
Your observations can provide useful clues that a diagnostic scan alone may not reveal. Before your appointment, think about what happened around the time the light appeared.
For example, consider whether you noticed:
- Rough idling or engine vibration
- Slower acceleration
- Reduced fuel economy
- Difficulty starting the vehicle
- Unusual engine noises
- Smoke or unfamiliar smells
Also note whether the problem occurs during cold starts, highway driving, acceleration, or when the engine is idling. Sharing these details gives the technician a clearer picture of the conditions under which the fault occurs.
3. Check the Gas Cap and Other Simple Issues
A loose or damaged gas cap can trigger the check engine light because it may allow fuel vapors to escape from the evaporative emissions system. If you recently filled the tank, check whether the cap is properly tightened.
If the cap is visibly damaged, mention it to the mechanic. However, do not assume it is the cause simply because the warning appeared after refueling. The light may remain on until the system completes its checks, and other faults can produce similar symptoms.
Avoid disconnecting the battery or clearing diagnostic codes before your appointment. Doing so can erase useful information and make the underlying issue harder to identify.
4. Gather Maintenance Records and Previous Repairs
Bring your recent maintenance history if it is available. Records of oil changes, spark plug replacements, battery work, or previous engine repairs can help the technician understand the vehicle’s condition.
If the warning appeared shortly after a repair or replacement, mention that as well. A recently installed component, loose connector, or disturbed hose may be relevant to the diagnosis.
For drivers wondering how to prepare their vehicle for a check engine light diagnostic service, keeping these records together is one of the easiest ways to make the appointment more productive.
5. Know Your Vehicle’s Basic Information
Before arriving, make sure you know your vehicle’s year, make, model, and approximate mileage. If possible, bring the owner’s manual and any previous diagnostic reports.
These details help the shop identify the correct diagnostic procedures and understand which systems are installed in your vehicle. Modern cars often rely on interconnected electronic controls, so the same warning light can have different causes depending on the model.
You do not need to diagnose the problem yourself. Your role is to provide accurate information so the technician can perform the necessary tests.
6. Ask What the Diagnostic Service Includes
Not every diagnostic appointment involves the same level of testing. Ask whether the service includes reading trouble codes, reviewing live sensor data, inspecting related components, and explaining the findings.
A diagnostic trouble code identifies a system or condition that needs investigation; it does not always identify a failed part. For example, a code related to an oxygen sensor may result from a wiring problem, an exhaust leak, or another underlying issue.
Request a clear explanation of the findings and an estimate before approving repairs. This helps you understand which work is necessary and why.
Key Takeaways
- Check whether the check engine light in Dallas vehicles is steady or flashing.
- Record unusual sounds, smells, vibrations, and performance changes.
- Inspect the gas cap, but do not assume it is the only possible cause.
- Bring maintenance records and information about recent repairs.
- Avoid clearing diagnostic codes before the appointment.
- Ask the technician to explain the test results and repair recommendations before authorizing additional work.